How to Improve Your Landscape Photography Compositions
If you’ve ever struggled with the art of composition in your photography, you’re going to love this article. I struggled for years to ”see the shot” until one day it just clicked. Since then I’ve tried to ‘break down’ my thought process into easy to understand guidelines that I think every photography can use to improve their compositions.
Composition is without doubt the most important aspect of photographer. Magical light and perfect technique are nothing without a good composition. One of the most common questions I get asked by my students is ”how do you see a good composition?”
These 7 simple tips can instantly improve how you see and how you shoot your landscapes.
1 – Pick a Clearly Defined Subject
Who or what is the star of your show? If you can’t make it clear what your photo is about, the viewer will struggle to make an emotional connection. Whether your main subject is a person or a spectacular desert arch, it’s a good idea to ask yourself ”what am I taking a picture of?”. If you can answer that question clearly, you’ve got a good chance of inspiring the viewer.
Sometimes this can be difficult if you’re taking a shot of a large vista, but even then there are usually some key points of interest that should be demanding your attention. If nothing is demanding your attention you might have to keep hunting to find a notable feature of the landscape that you can choose as a central subject. This could be a particular tree, an interesting rock shape, a ruined shack or farmhouse.
If you can a subject that gives you some kind of a connection, your audience will too.
2 – Exclude The Boring
I see this time and time again with photographers that struggle with composition and it really is so easy to fix. Once you’ve accomplished step 1 and picked a clear and obvious subject, it’s time to position your camera and adjust your focal length to exclude anything that is boring and filling your frame with what is interesting.
Some examples of what might be boring could be too much empty blue sky or a massive body of water that has nothing happening. If you’re taking a picture of a beautiful boat do you really need 60% of your frame devoted to a blue sky when just 12% will do?
The art of ‘Exclusion’ is a powerful tool in photography. Think of how real estate photographers can make you think that a house might be ideal for you simply by excluding the crack shack next door or the disused car lot 20 ft to the right.
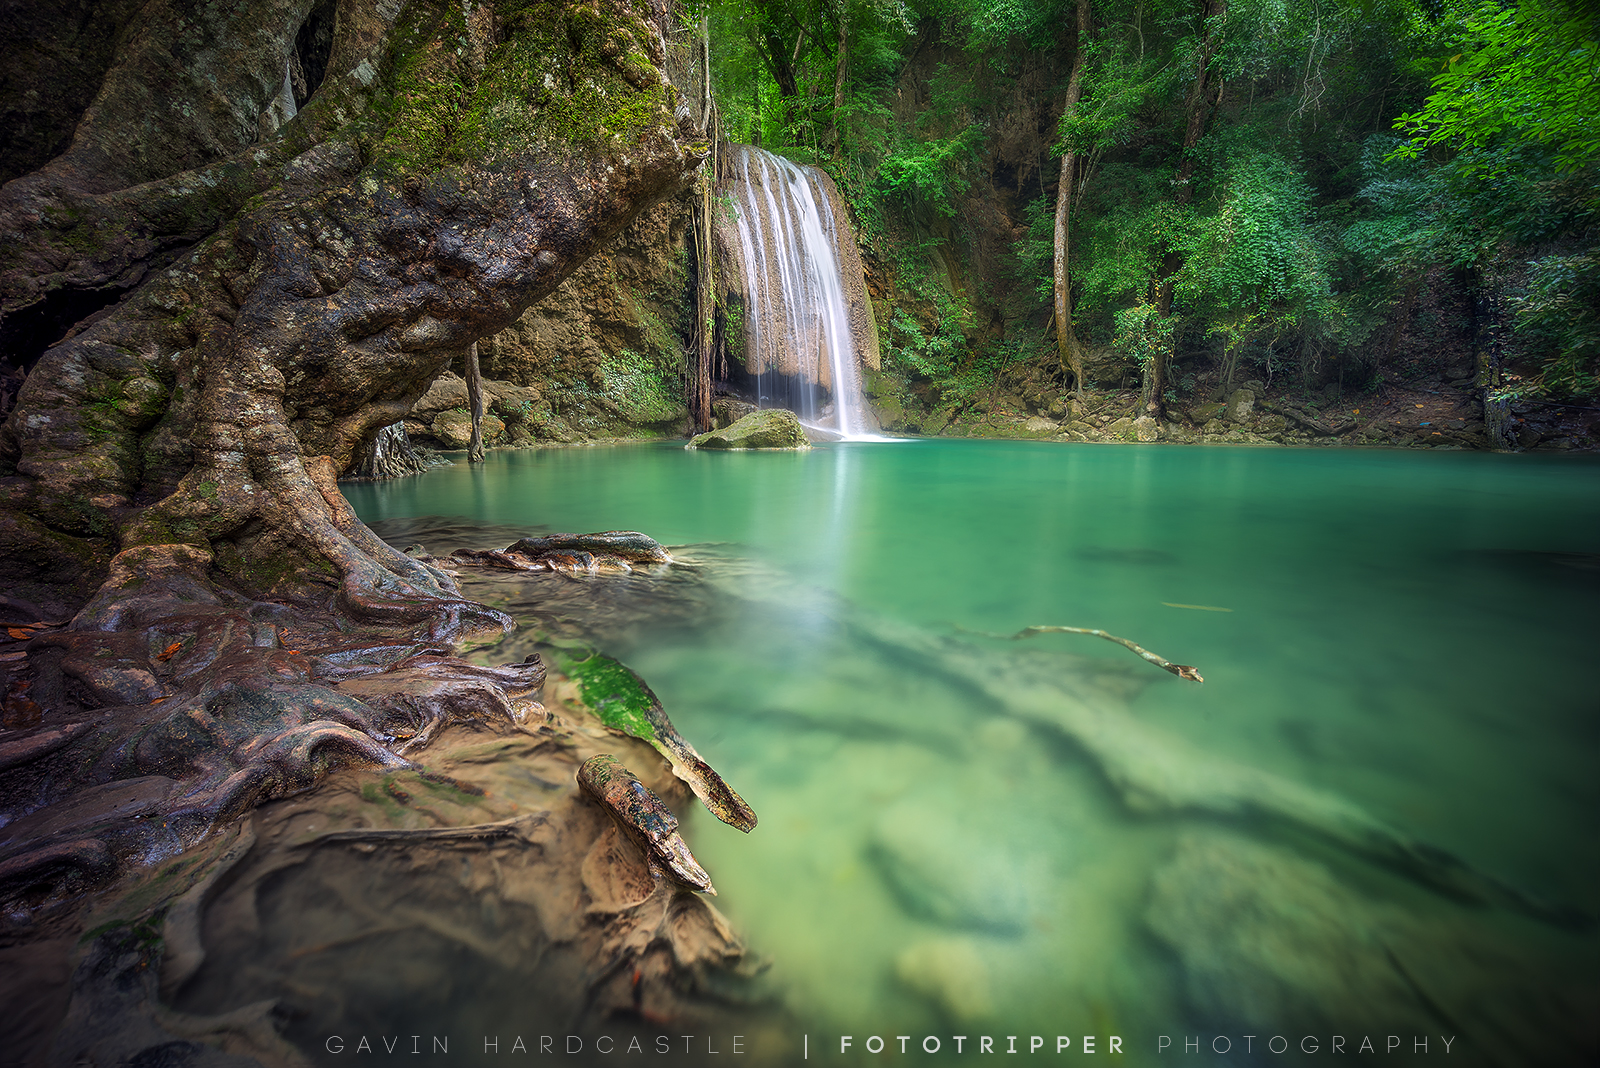
3 – Choose Interesting Foreground
Foreground is very important even if you’re shooting portraiture and blurring out the foreground with some creamy Bokeh. For landscape photography it’s essential. A carefully chosen foreground can turn a good shot into a killer shot.
Once I’ve decided what my main subject is, the next thing I do is go hunting for interesting foreground to make that main subject even more interesting. Let’s say I’m shooting a desert arch and the light is perfect.
If I devote 30% of my frame to a really interesting foreground, it can add drama and interest to an already interesting shot and it’s a great way to set your image apart from thousands of other images of the same subject where people didn’t bother to pick an interesting foreground.
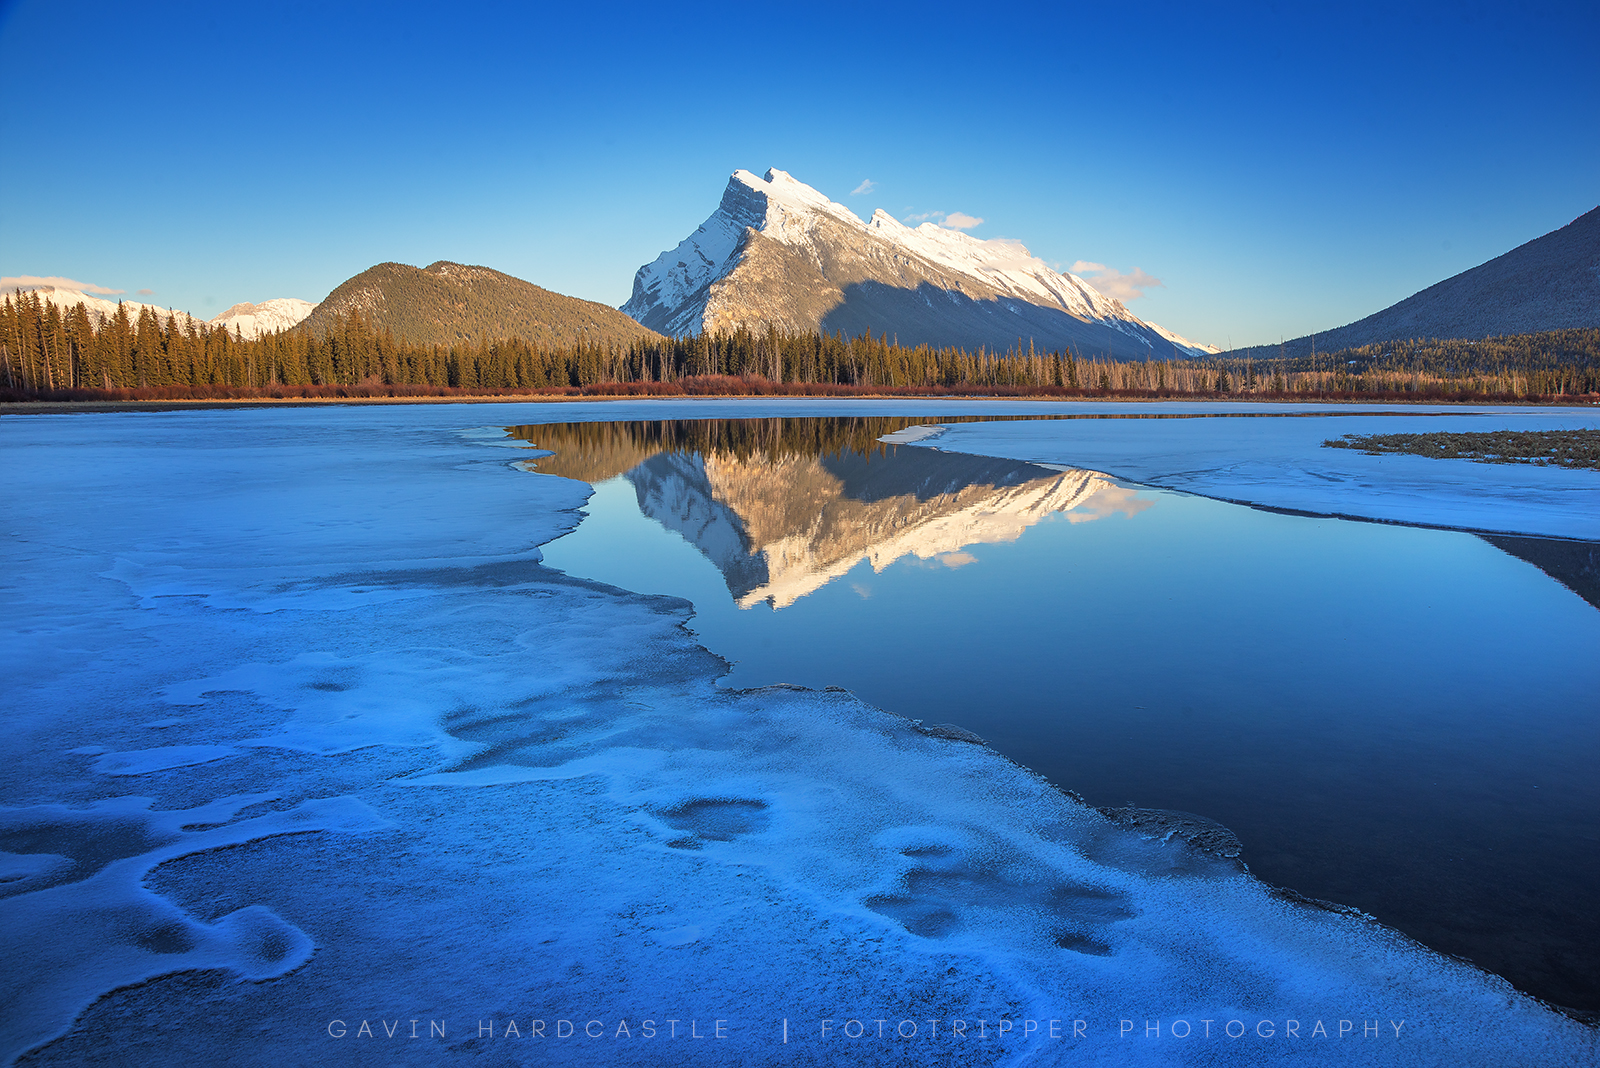
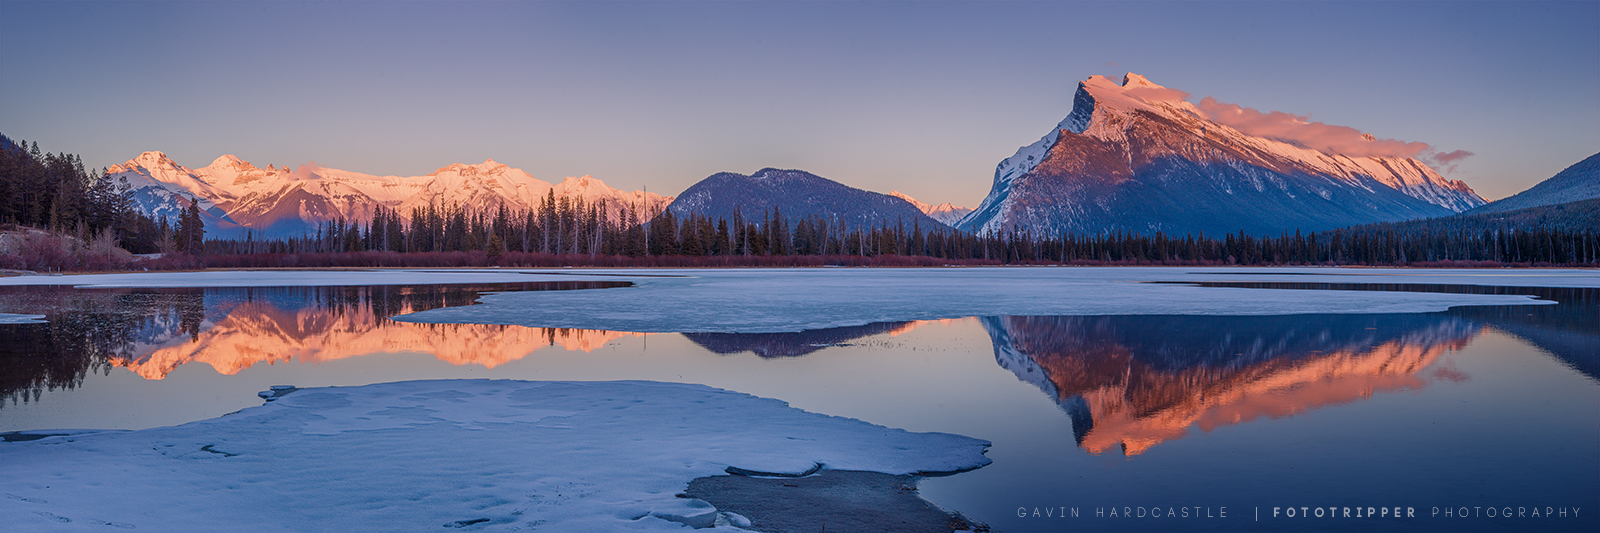
Here’s an example of how i do this. Let’s just say my main subject is a spectacular mountain vista reflected in a lake. I can’t move the mountain and I can’t have any control over what happens in the sky but I can totally control what I put in front of that stunning scene.
I’ll walk around the lake shore hunting for interesting rocks, fallen trees, branches, roots or anything of interest.
I then position my camera and adjust my focal length (usually with a zoom lens) in order to devote the bulk of my frame to what is most interesting while capturing the interesting foreground I picked. Spend less time looking at the mountain and more time searching for a pretty foreground and the mountain will wait patiently for you to set up your killer shot.
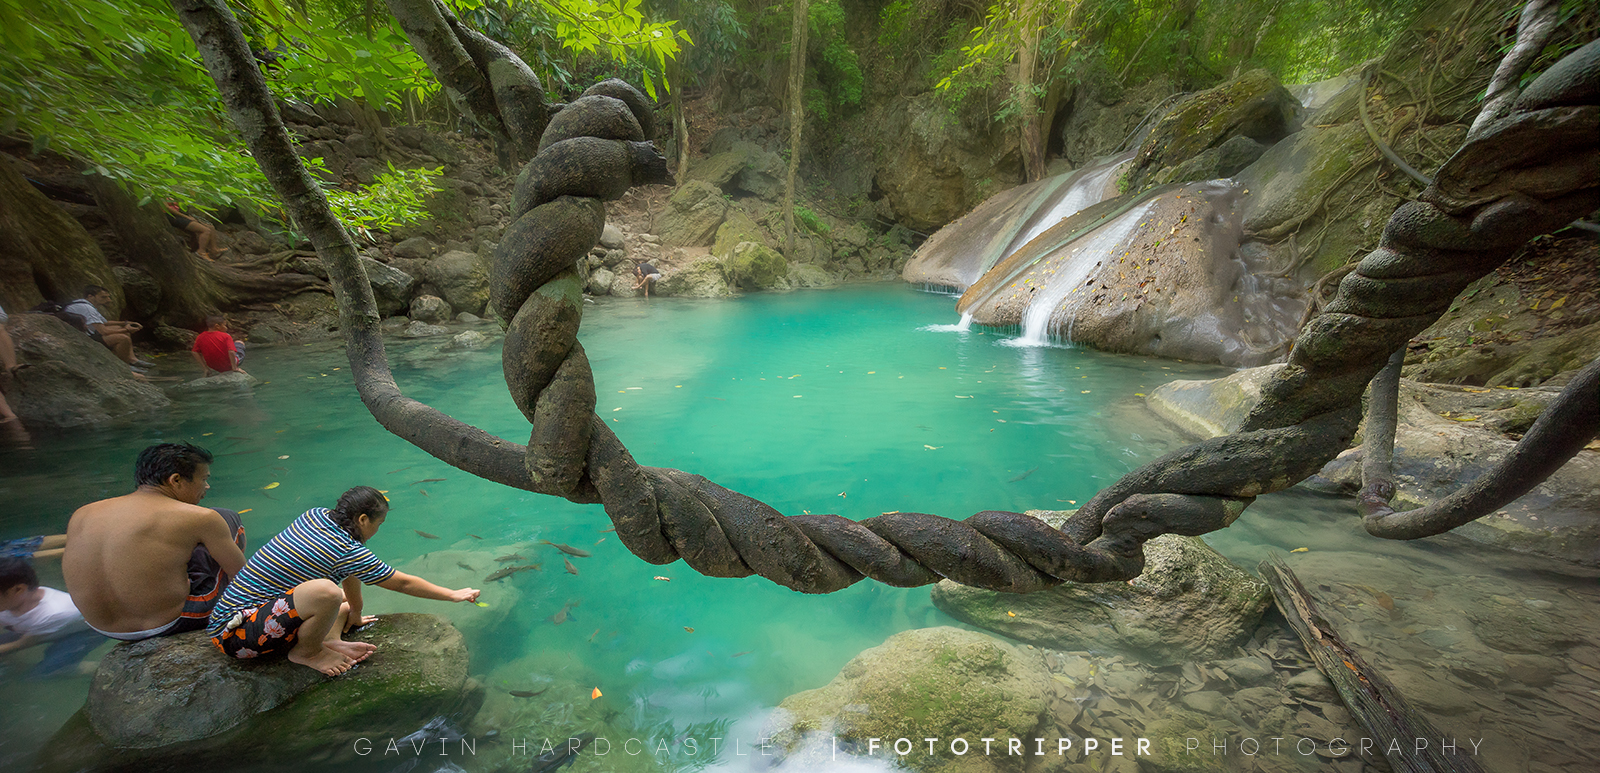
4 – Put a Person in Your Shot.
There are times when a beautiful landscape will connect better with your viewer if it contains a person or a group of people. Adding people to our landscapes also gives us a sense of scale which can really ignite the imagination and our sense of awe.
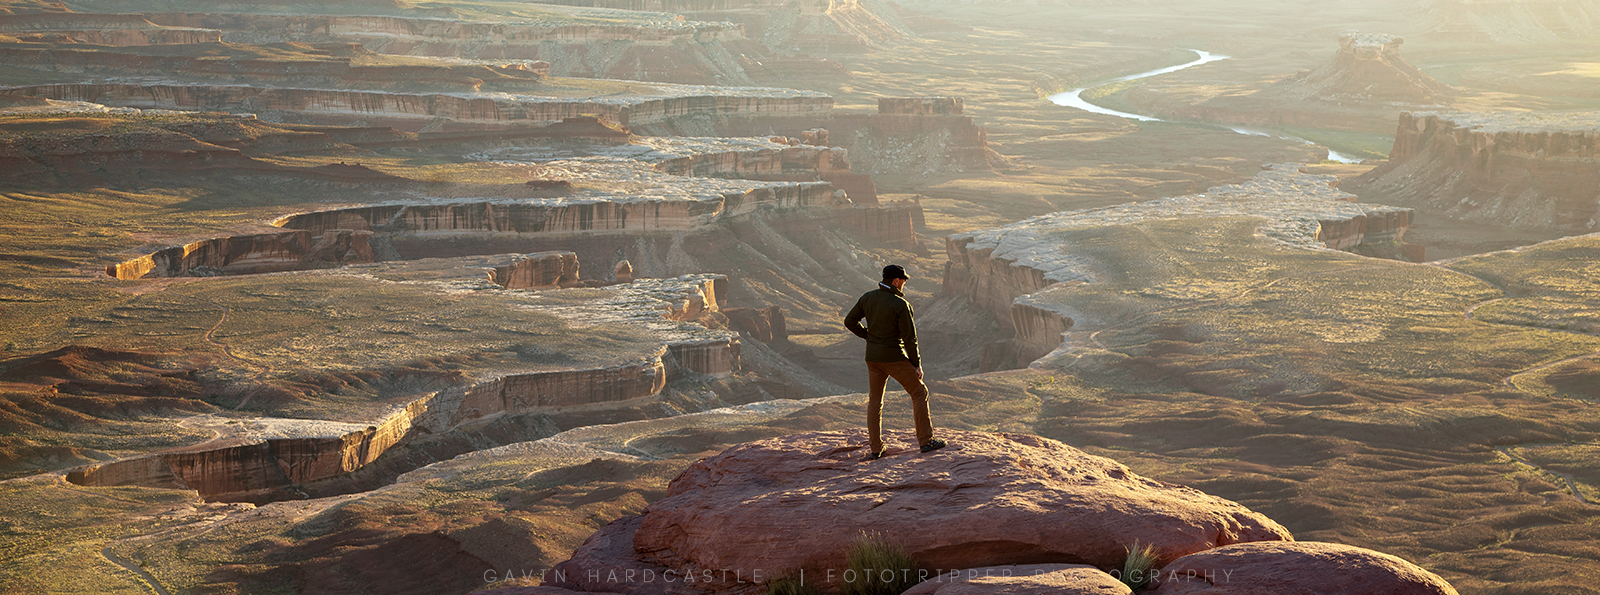
You can strengthen that connection with the viewer by making sure that the person in your shot is somewhat anonymous. By obscuring facial features, it’s easier for the viewer to imagine themselves or a loved one standing on that cliff edge, thus projecting their emotion into your image.
5 – Frame Your Subject
The use of ‘framing’ in photography can act like a window into the scene. A frame can complete an image and can also be used to fill empty spaces. This is another way that you can utilize Step 2 to ‘Exclude the Boring’.
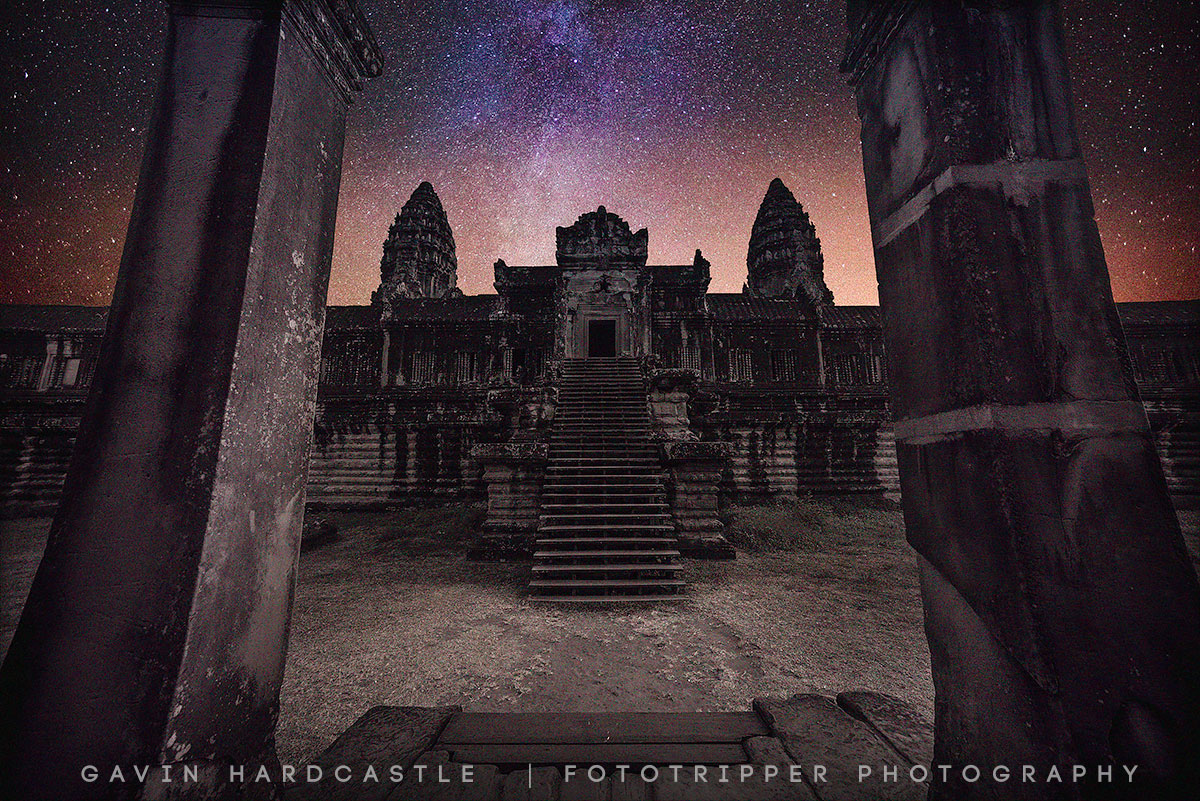
Frames also act as a way to focus attention on your main subject, it’s kind of like saying ”here, look at this, it’s so important, I even framed it”.
Even a partial framing of your main subject can be very effective, especially if you use it to fill a boring empty space.
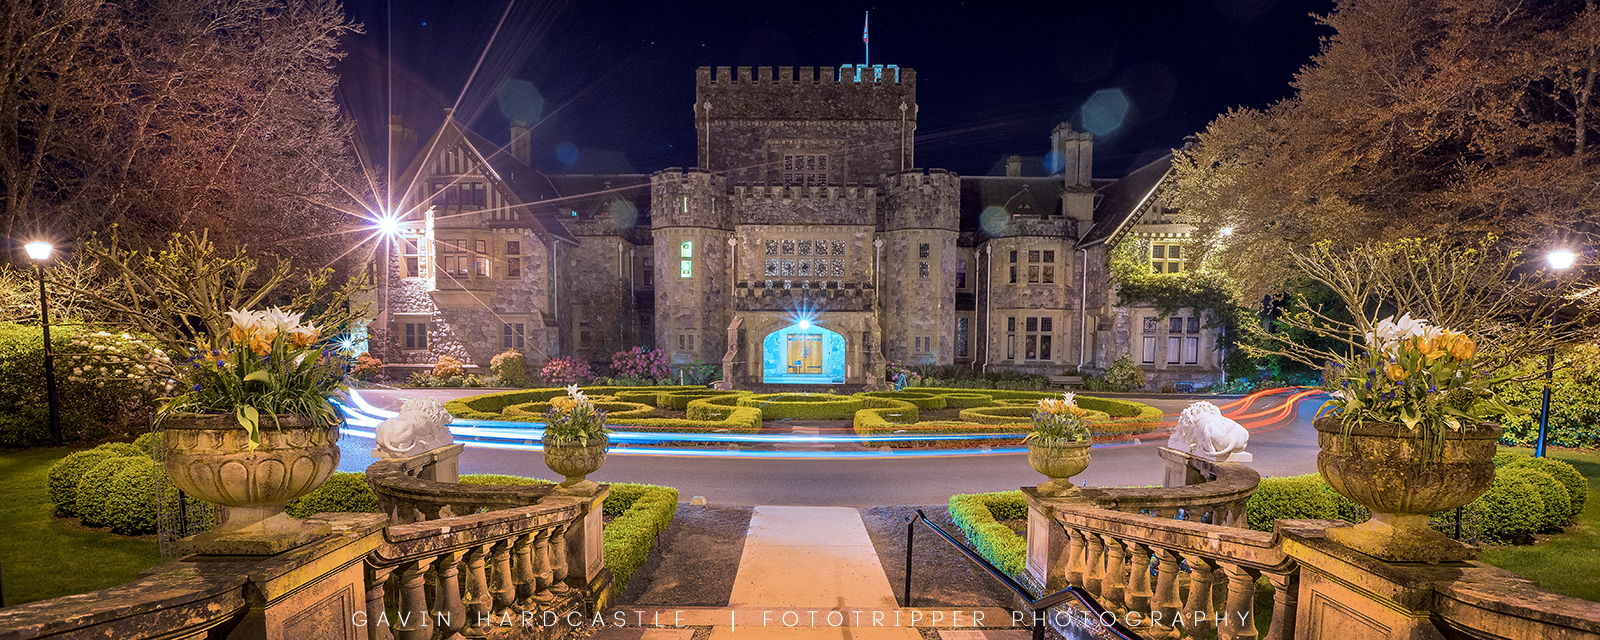
6 – Look for Leading Lines
Leading lines are a great way to suck the viewer into the centre of an image. They work in a similar way to framing but have a more directional flow that almost screams ”look over here!”. You don’t need to have a leading line that comes from all four corners of your image. Neither do they need to be uniform in shape or placement.
For me, there has to be a sense of ‘randomness’ to leading lines because that’s what nature is – random.
You’ll find that wider lenses make leading lines very easy to spot. The distortion created by super wide lenses naturally makes any object in the corners of your frame angle inwards. As you get closer to a fallen log you’ll see that distortion alter depending on how you position your camera.
Top Tip. Go hand held and put your camera in live view mode so you can see your composition on the LCD. Get low, move back and forth and adjust your position until you get the composition and leading lines that you want. Then get your tripod out and take a super sharp shot. This is way faster than constantly adjusting your tripod to hunt out different comps.
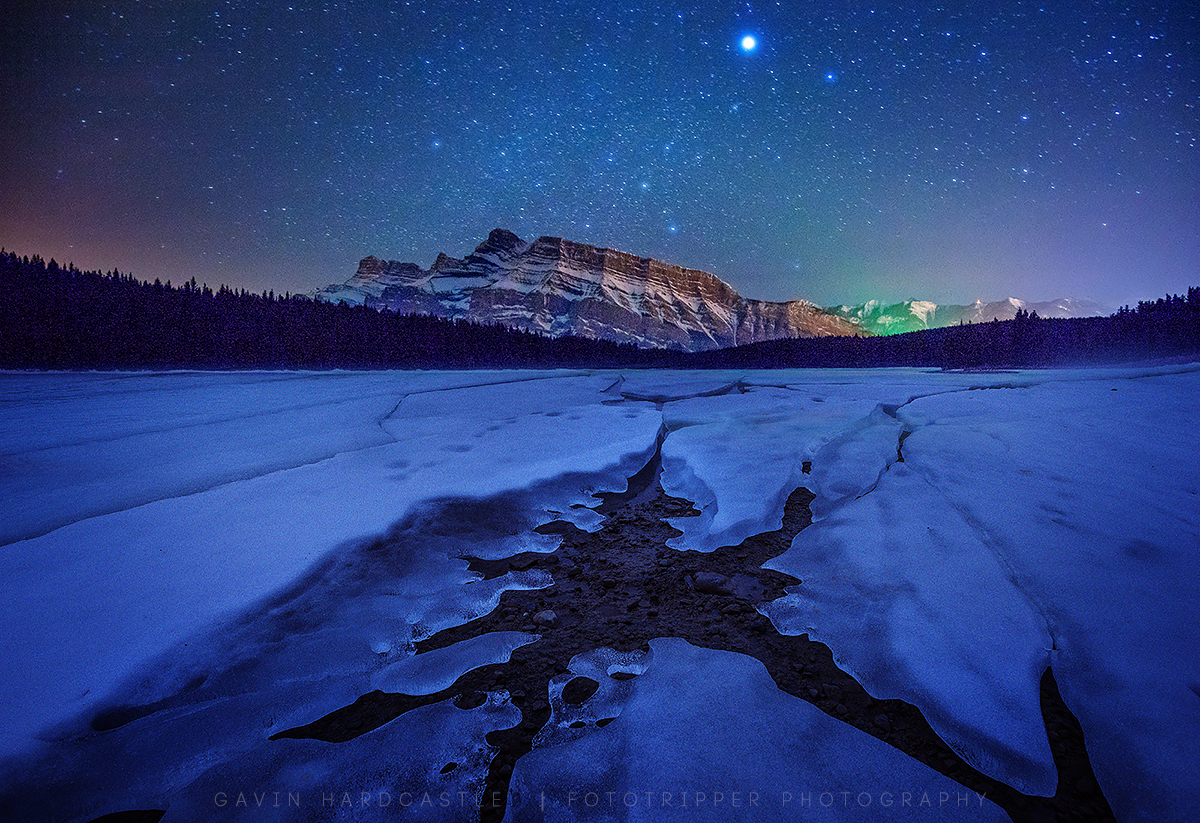
7 – Simplify
You’ve no doubt heard the saying ”Less is more”. That can be a very effective mantra for all kinds of photography.
This is kind of like Step 2 where we ‘Exclude the Boring’. With simplification, it’s more a case of ruthlessly excluding things that might not be boring but perhaps make your image too complicated.
If you’re shooting a forest scene that has lots of detail, it might distract your audience from the main subject. It’s possible to have too much interesting material in your image, so really ask yourself ”Can I simplify this composition to make it stronger?”.
Your audience won’t know what you’ve excluded, they’ll only see what you chose to include so they won’t miss that little detail that you agonized over.
Be ruthless and decisive when you try to simplify your compositions.
Practice Makes Perfect
Obviously there’s a lot more to composition than can be shown in this blog post and I do teach a lot about composition in my photography workshops.
Try to think of compositional technique like playing a musical instrument. The more you practice, the better you’ll get at ‘seeing the shot’. Use these 7 tips as basic guidelines and you should see an instant improvement in your landscape photography.
If you’ve got any questions or tips you’d like to share, please post a comment below.
Great article. As a photographer I think you have covered everything one needs to know about composition. Well done.
Great and clear article. Well explained for easy understanding. The pictures help to understand better. Will try to remember to your guidelines when I shoot now.
Thanks a lot.
Thanks for the tips. You make it sound so straightforward. It really comes down to practice. You saved the best for last.
As always, easy to grasp, to the point and with practice better results for your students, thanks Gavin